-
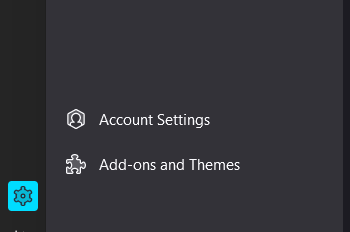
Open Thunderbird and click on the settings (gear icon) in the bottom left corner.
-
Then click on the "Add-ons and Themes" button.
-
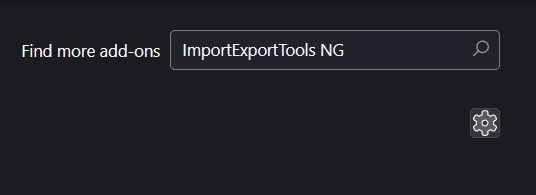
Search for the add-on "ImportExportTools NG" and click the search icon.
-
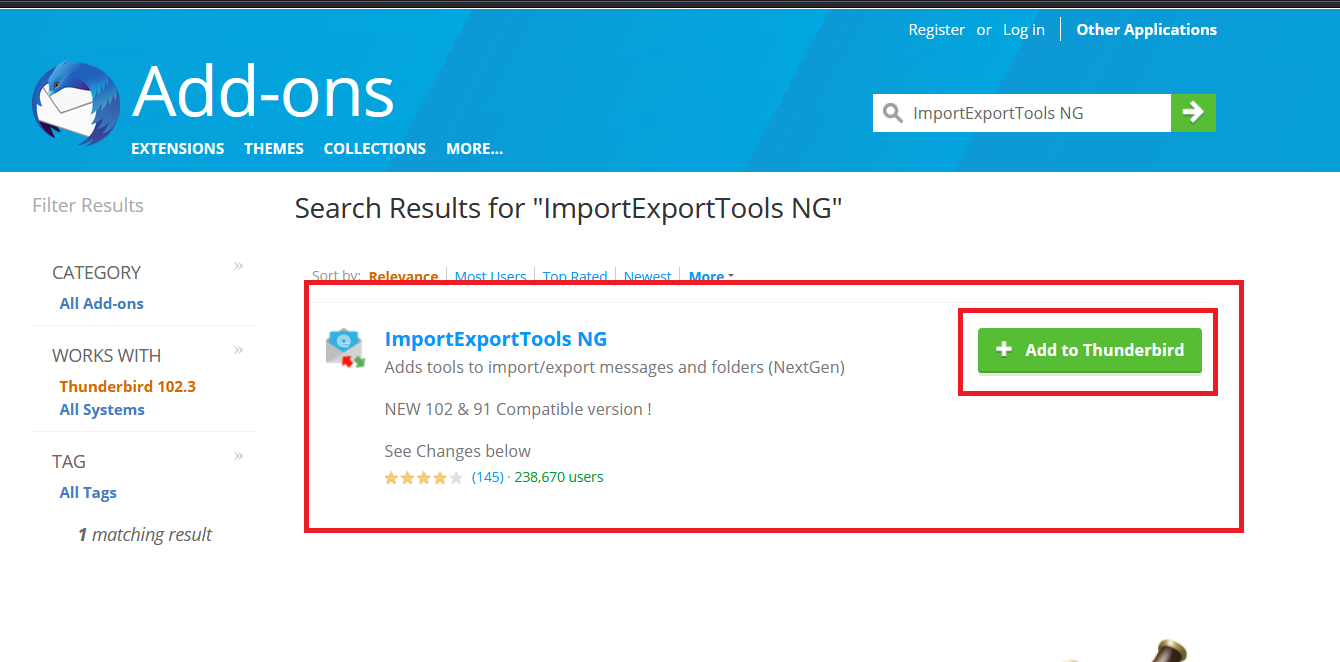
In the page that opens find the "ImportExportTools NG" add-on anc click the "+ Add to Thunderbird" button.
-
In the pop-up that opens, click the "Add" button to install the add-on and then click "OK!".

-
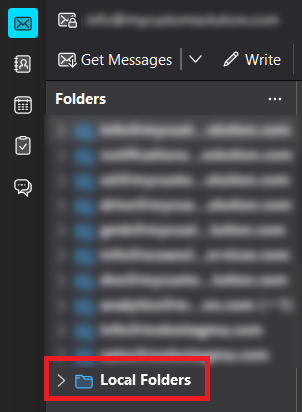
Now go back to the main screen of Thunderbird and locate the "Local Folders" at the left panel.
-
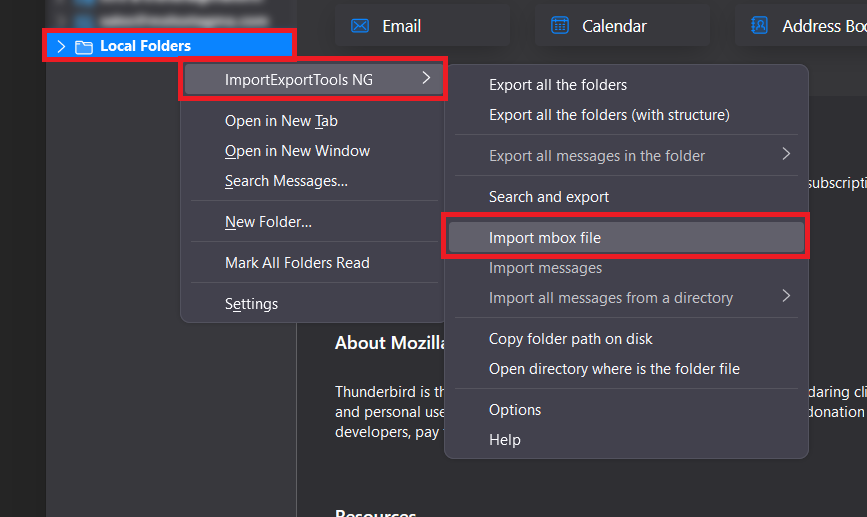
Right-click on the "Local Folders", hover over the "ImportExportTools NG" option and click the "Import mbox file" option.
-
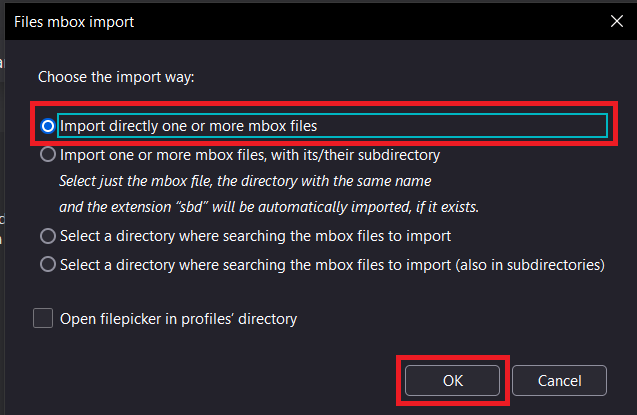
In the pop-up that opens, make sure the "Import directly one or more mbox file" option is selected and then click "OK".
-
Then locate the mbox file on your computer and click "Open".

-
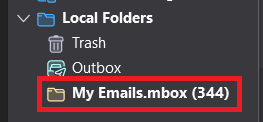
Now all the emails of the mbox file should be imported in the local folder, and you should see them under "Local Folders" as a new folder with the name of your mbox file.
-
You can then left-click on the newly created folder with the name of your mbox file, and you should see all the emails in the right panel.

-
Select all the emails with CTRL + A, right-click on the emails and hover your mouse over the "Move To" option then click the email account you want to move the emails to and then click on the specific folder you want to move the emails to (e.g. Inbox). Now, Thunderbird will upload all the emails to the email account you selected.

- You can track the process at the lower left corner of Thunderbird. After the process is completed, you should see the new emails in the destination email you selected. Now you can safely delete the local folder that was auto-created in step 10.
